Octopress + GitHub Pages = Simple Blog
いきなりですが、ブログを開設したいと思いました。
VimやMarkdownの勉強も兼ねることができるので、Octopress + GitHub Pagesで書いてみることにします。
Octopress

Octopressとは、mojombo/jekyllという静的ファイルジェネレータのためのフレームワークです。
jekyllがMarkdownでの記事作成に対応しているのでエンジニアの方で利用されている方が多いようです。
- HTML5,レスポンシブデザイン対応
- デフォルトのテンプレートデザインで既にレスポンシブデザイン対応
- Compass,Sassを用いたデザイン
- 記事の新規作成やローカルレビューなどの操作はrakeタスクに纏まっていてシンプル
- ローカルで作成した記事を反映させる方法は、
Github pagesやRsyncを利用Github pagesの場合はgithubへpushして更新
-
POW,WEBrick,thinなどのRackサーバをサポート - カラースキームとしてsolarizedを採用することで美しいシンタックスハイライトを実現
- Markdownで記事を作成可能
GitHub Pages

GitHub Pagesとは、username.github.ioというレポジトリに静的コンテンツを置くことでWebサイトとして公開できるものです。
WebサイトのデフォルトURLはレポジトリ名と同じhttp://username.github.ioとなります。
ちなみに、usernameは自分のGitHubアカウント名に置き換えてください。
GitHub PagesとしてWebページを作成することでコンテンツをGit管理にできるほか、GitHubレポジトリに置けることでバックアップとしての意味合いも果たします。
そして、GitHub Pagesでは静的ファイルジェネレータのmojombo/jekyllを使ったブログ作成が可能なので、Octopressもインストール可能なのです。
Octopressをローカル環境にインストール
今回の最終目標はGitHub PagesでOctopressのエントリー記事を表示させることですが、記事作成などの主な操作はローカル環境で行う必要があります(GitHubレポジトリの内容を直接操作することはできない)。ローカル環境で記事作成などの操作を行った後にGitHubへPushすることでGitHub Pagesに反映させるのです。
Octopressのソースコードをgit cloneでローカル環境に持ってきます。
ローカル環境側のRubyバージョンが1.9.3以上の必要があるので、rbenvやrvmなどでインストールしておきます。
1 2 | |
gemモジュール群をインストールします。私の環境では、Could not find a JavaScript runtimeエラーが発生するのを防ぐために、therubyracerプラグインも一緒にインストールします。
Gemfileに追記します。
1 2 | |
Gemfileに記述されているGemモジュール、および依存関係のあるGemモジュールをインストールします。
1
| |
rake installコマンドを実行してOctopress初期セットアップとしてデフォルトテーマ用のファイルをJekyllの静的コンテンツ生成パスにコピーします。
rakeタスク実行時の標準出力をそのまま記載しているのでmkdirやcpはrakeタスク内で実行済みです。
1 2 3 4 5 6 7 8 | |
この段階で初期ページの表示確認は可能なはずですのでrake previewコマンドを実行して、ローカル環境でWebページを公開します。
rake previewコマンドを実行することでRakefile内のpreviewタスクを実行します。previewタスクではjekyll build --watchコマンドを実行して静的コンテンツをジェネレートしつつ、以降の変更を監視し続けます。変更を検知すると再ジェネレートを自動実行してくれます。そしてrackupコマンドを実行し、TCPポート4000番でWEBrickサーバを起動します。
ここでもrake previewタスクの実行時の標準出力を(_config.ymlパス以外は)そのまま記載します。
1 2 3 4 5 6 7 8 9 10 11 12 13 | |
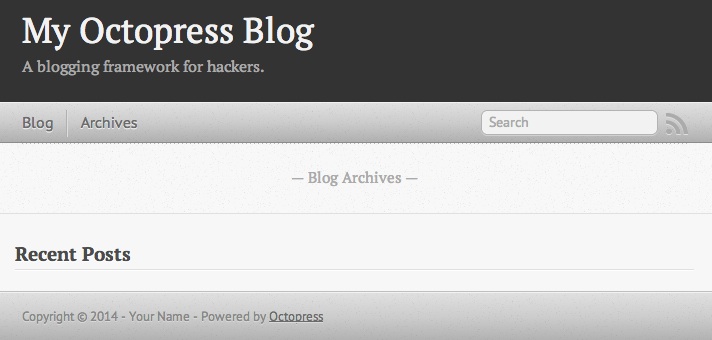
ブラウザでhttp://localhost:4000(localhostの部分はローカル環境のIPアドレスに置き換えてください)にアクセスすると以下のような初期ページが確認できます。
Octopressで指定可能なrakeタスク
Octopressをインストールする際にrake installコマンドやrake previewコマンドを実行しましたが、rakeコマンドの後ろに指定したサブコマンドはRakefileに定義されたタスクに対応しています。
指定可能なrakeタスクはrake -Tコマンドで確認できます。
1 2 3 4 5 6 7 8 9 10 11 12 13 14 15 16 17 18 19 20 | |
記事を投稿する
新しい記事を投稿するためにはrake new_post[title]コマンドを実行します。title部分は任意のタイトル文字を記述します。英字以外だとうまく認識できないケースが考えられるので、ここでは英字で指定します。
1
| |
rake new_post[test_post]コマンドでsource/_posts/yyyy-mm-dd-test-post.markdownというファイルが作成されます。
1
| |
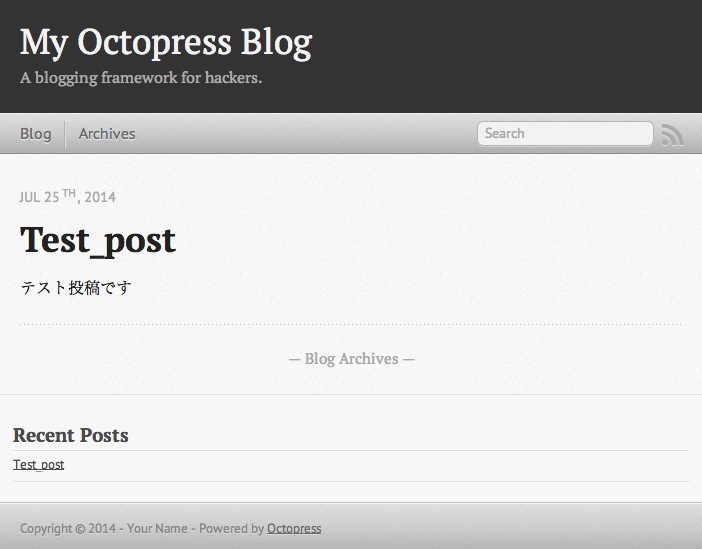
テストのために本文を1行だけ追記しました。
1 2 3 4 5 6 7 8 9 | |
静的ページを生成します。
1
| |
サーバを立ち上げます。
1
| |
ブラウザでhttp://localhost:4000(localhostの部分はローカル環境のIPアドレスに置き換えてください)にアクセスします。
OctopressをGithub Pagesで表示させる
今までローカル環境で編集してきたOctopressコードを新規作成した記事と共にGitHubにpushします。
GitHubレポジトリ作成
GitHubの新規レポジトリ作成ページにアクセスします。
Repository nameにusername.github.io(usernameは自分のGitHubアカウント名)を指定し、Create repositoryボタンをクリックします。

ローカル環境にてgitレポジトリの作成
OctopressでGitHub Pagesを利用する場合のgitレポジトリ作成にはsetup_github_pagesという専用のrakeタスクが用意されています。
rake setup_github_pagesコマンドを作成したレポジトリのURLと共に実行します。
- レポジトリのURL例
git@github.com:your_username/your_username.github.io.githttps://github.com/your_username/your_username.github.io
1
| |
GitHub Pagesへ反映
Octopressで記事などをGitHubへpushする時にはdeployタスクを利用します。
1
| |
GitHubにpush後10分程度待つと、http://username.github.ioで先ほどまでローカル環境で表示できていたOctopressページを表示させることに成功しました。
ソースをBitbucketで管理
rake deployコマンドでは、GitHub上に作成されたレポジトリのmasterブランチにmojombo/jekyllの静的コンテンツのみがpushされます。そしてGemfile,Rakefile,sassディレクトリ,sourceディレクトリがレポジトリ管理になっていません。
Deploying to Github Pagesでは、同一レポジトリにsourceブランチを作成してソースをcommit、pushするように説明していますが、ソースは公開する必要はないのでBitbucketで管理します。
Bitbucketに新規レポジトリを作成
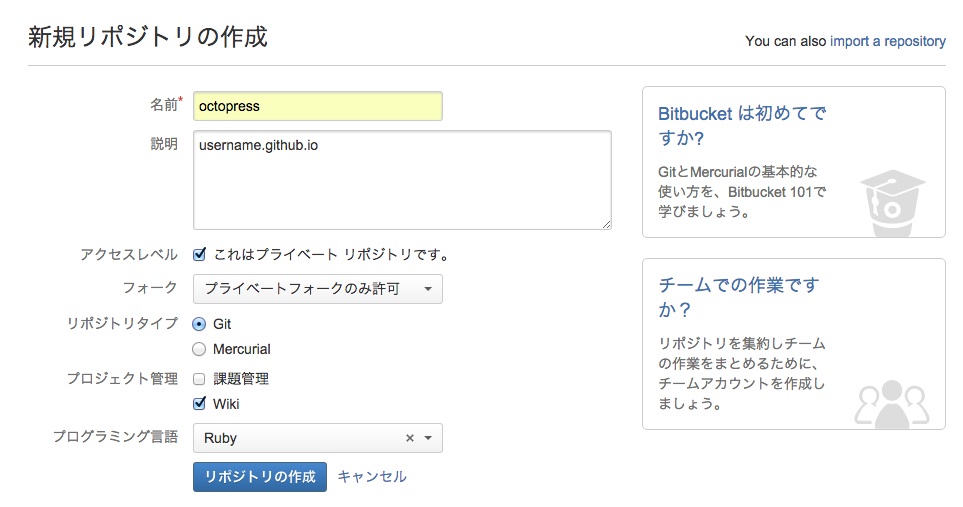
Bitbucketの新規レポジトリ作成ページにアクセスします。
https://bitbucket.org/repo/create
今回はoctopressという名前のレポジトリ`を作成しています。
ソースをコミット
Gemfile,Rakefile,sassディレクトリ,sourceディレクトリなどをレポジトリにコミットします。
1 2 | |
Bitbucketに作成したレポジトリへpush
1 2 | |
まとめ
Octopressのインストール
- https://github.com/imathis/octopress からソースコードをclone
-
rake installを実行して初期セットアップ -
rake new_post['blog_title']で新規記事を投稿 -
rake generateで静的ページを生成 -
rake previewでlocalhostの4000番ポートでWebサーバを起動
GtiHub PagesでOctopressで生成した静的ページを表示
- https://github.com/new で新規レポジトリを作成
Repository nameはusername.github.io(usernameは自分のGitHubアカウント名)
-
rake setup_github_pagesでGitHub pagesを利用するための初期セットアップ -
rake deployでGitHubレポジトリへpush
Bitbucketでソースコード管理
- https://bitbucket.org/repo/create で新規レポジトリを作成
-
git add -Aとgit commitでソースコードをコミット -
git remote addでBitbucketレポジトリをremote先として追加 -
git pushでBitbucketレポジトリにpush